vrijdag 4 april 2014
INSTRUCTABLES
This is our link to the instructables of the stand-alone rain water collector:
http://www.instructables.com/id/Stand-alone-rain-collector/
http://www.instructables.com/id/Stand-alone-rain-collector/
CONSTRUCTION DAY 3
CONSTRUCTION


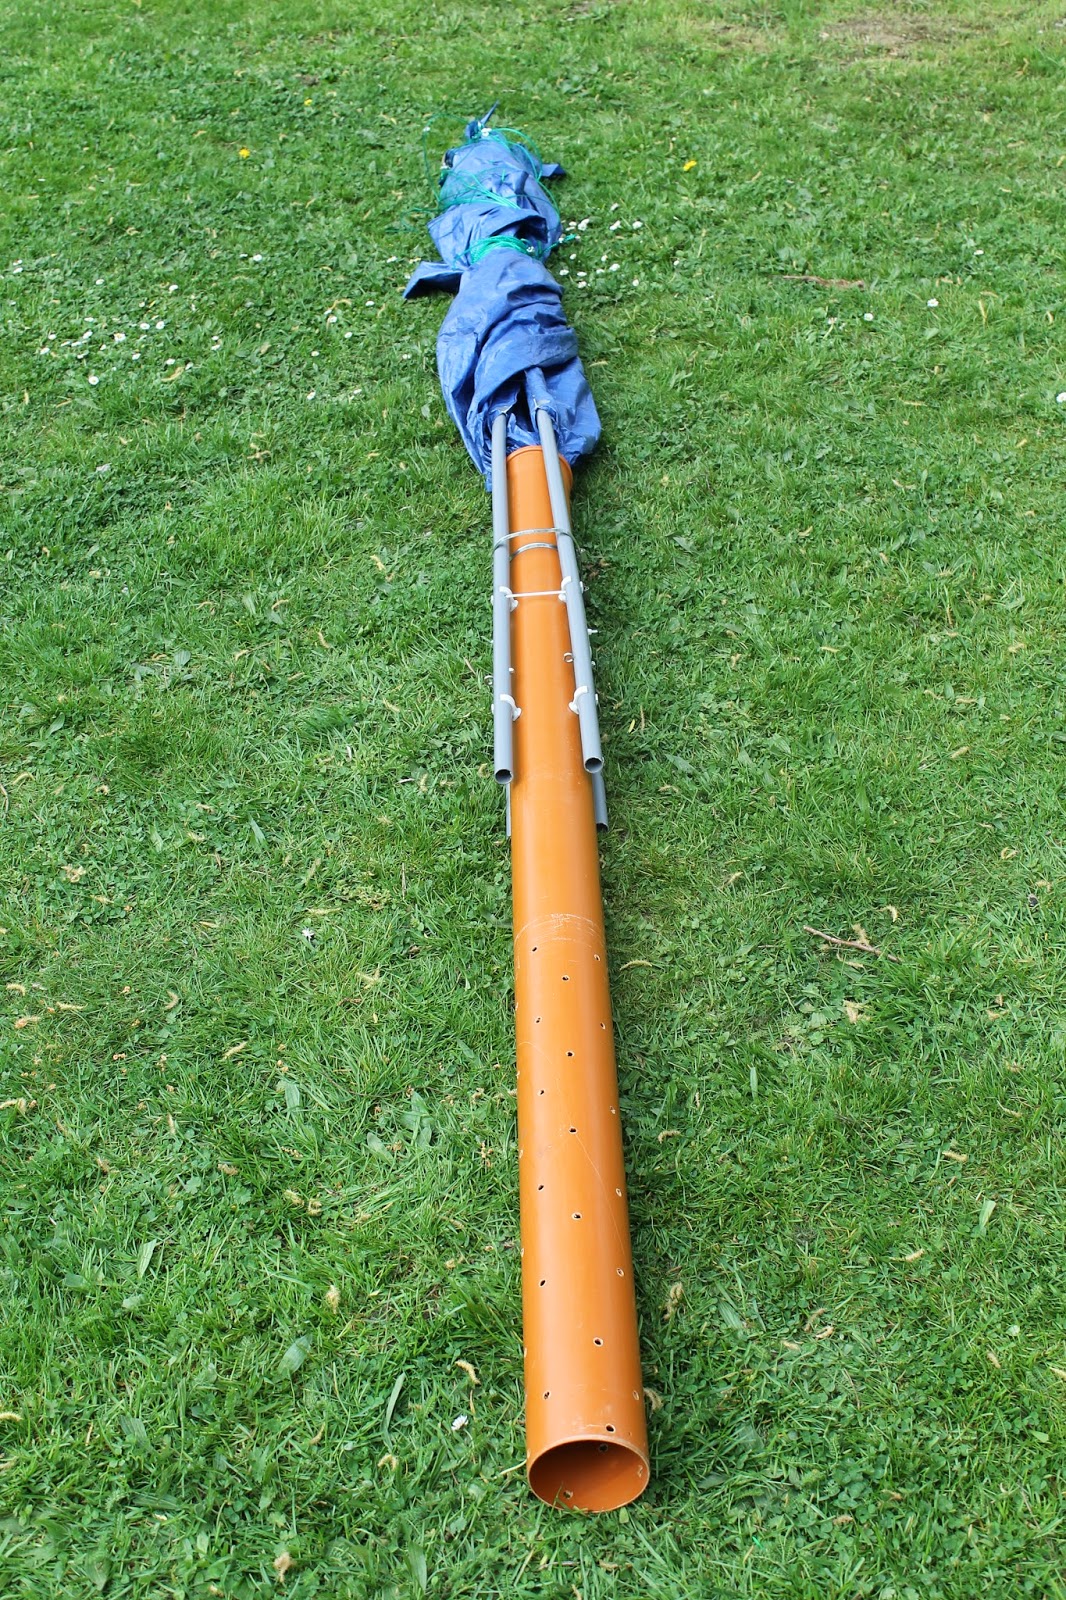
And in the end the structure can be foldable very easy.
Day 3:
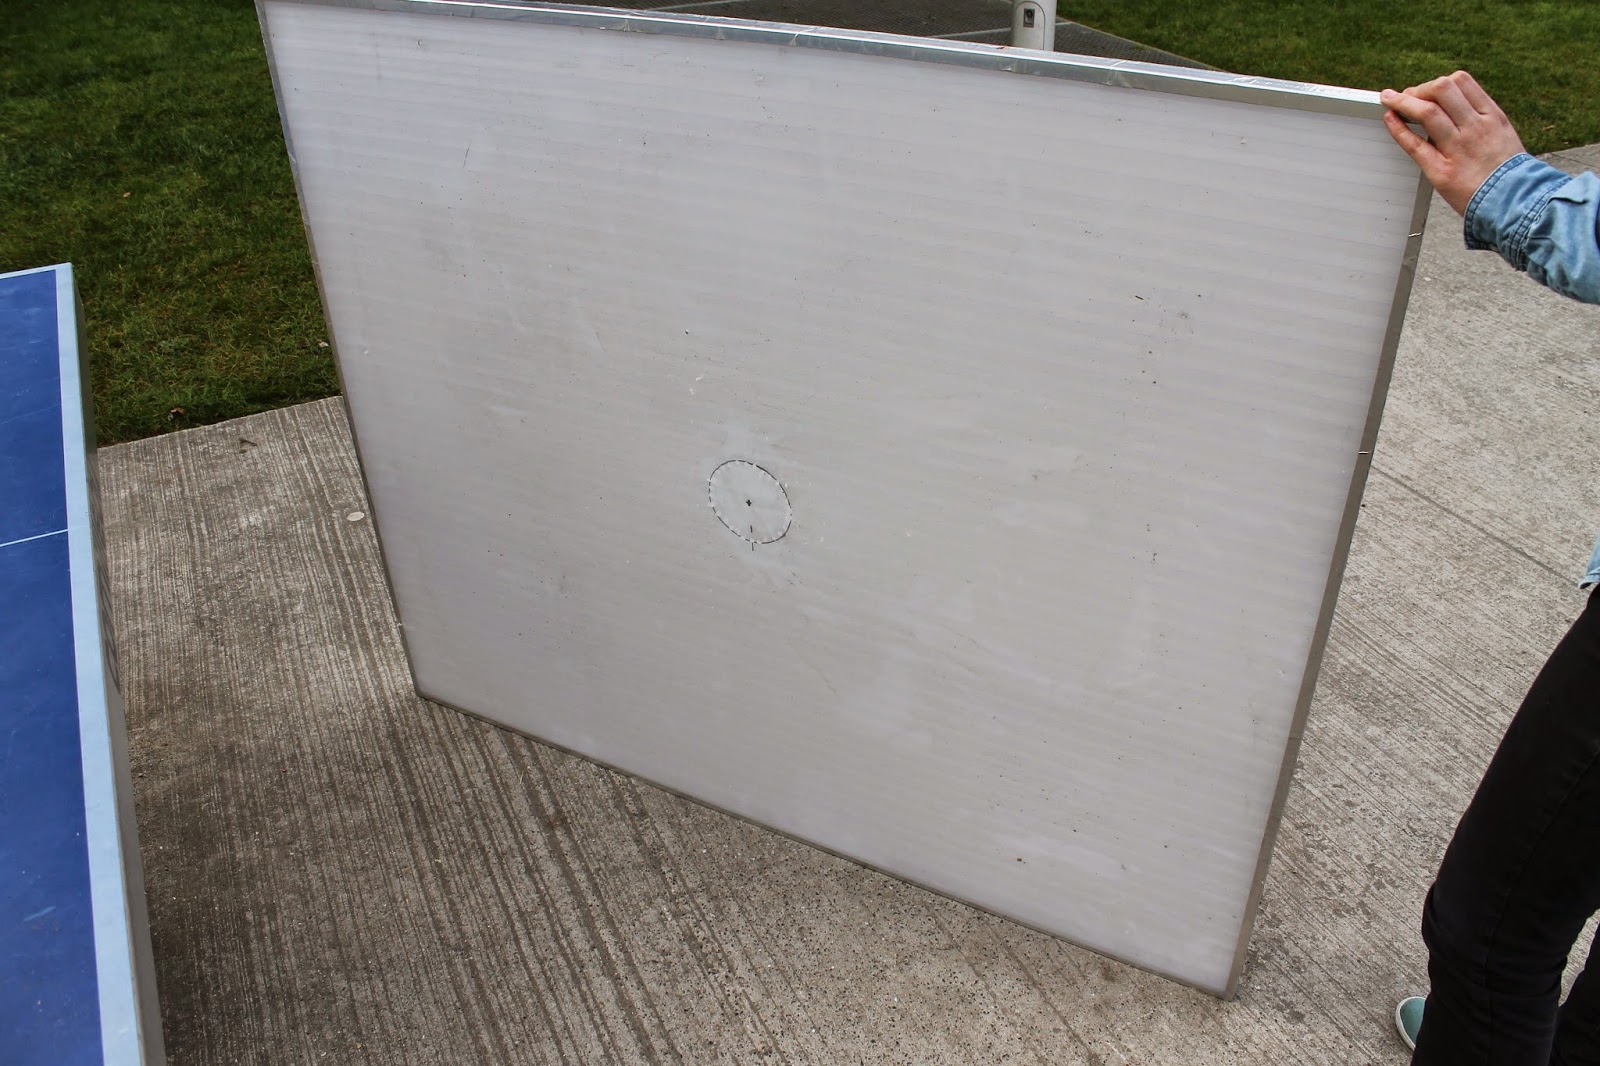
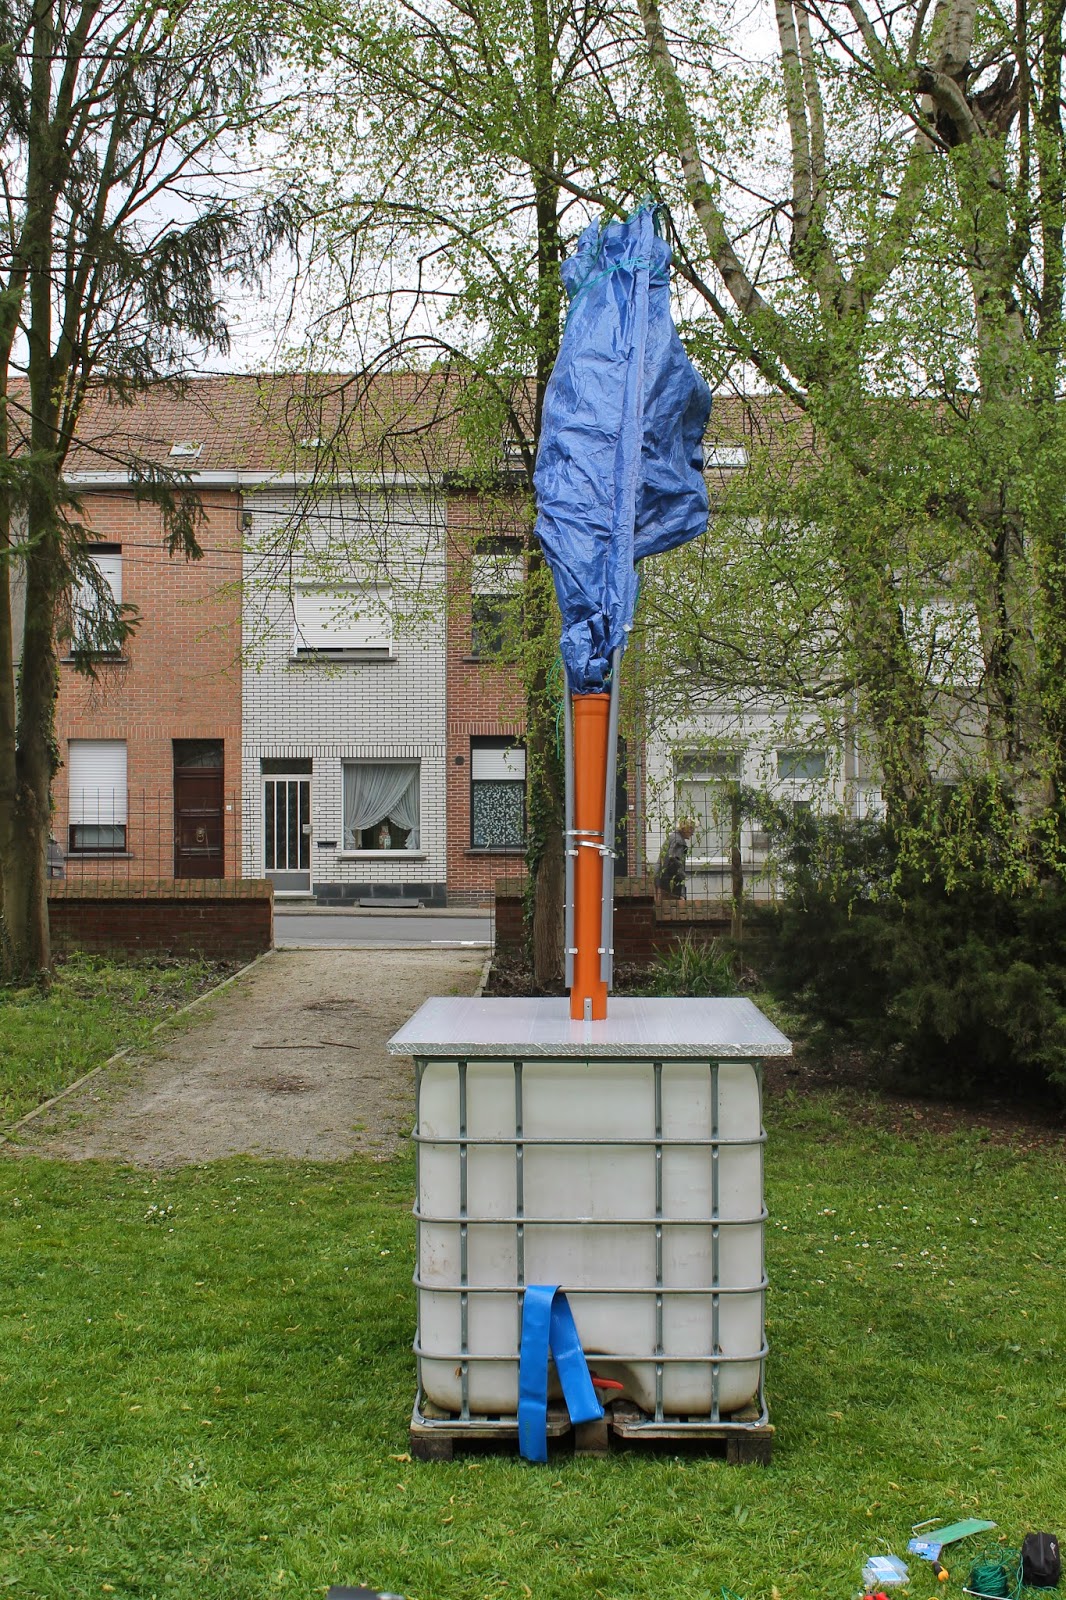
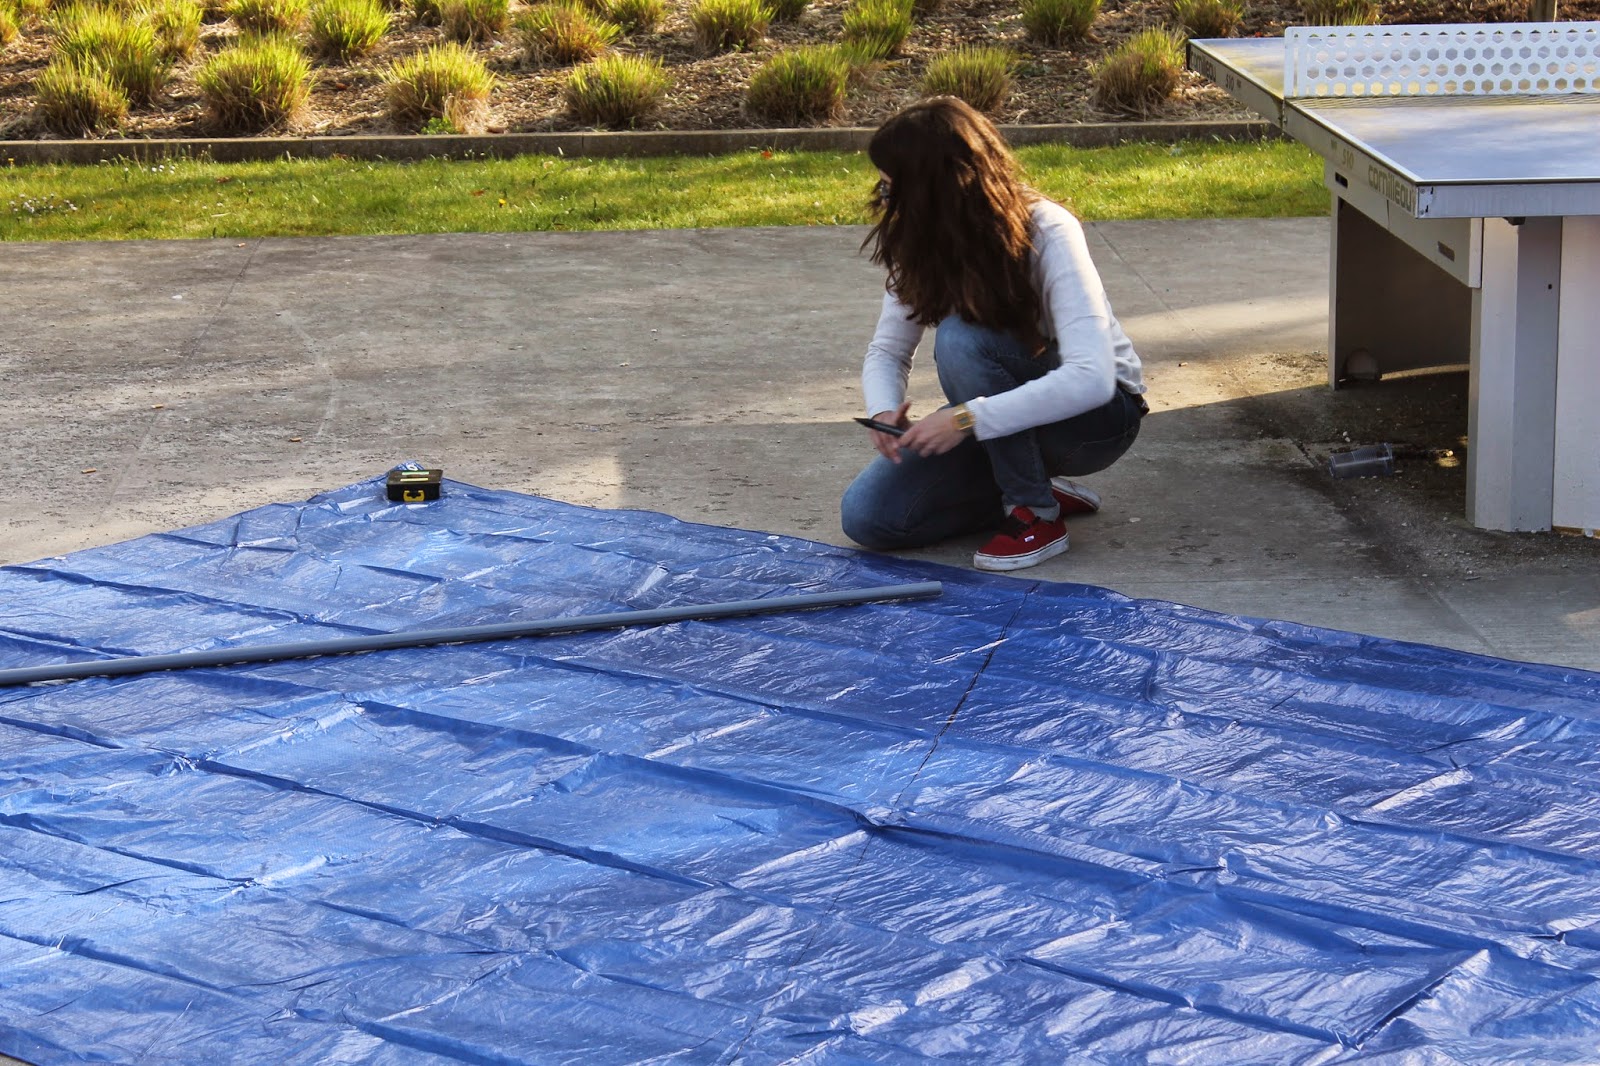
We choose a material for the tabletop and made a hole in the middle with the same diameter as the central tube. We made another in the shell of the tank, these holes are for inserting the orange tube.
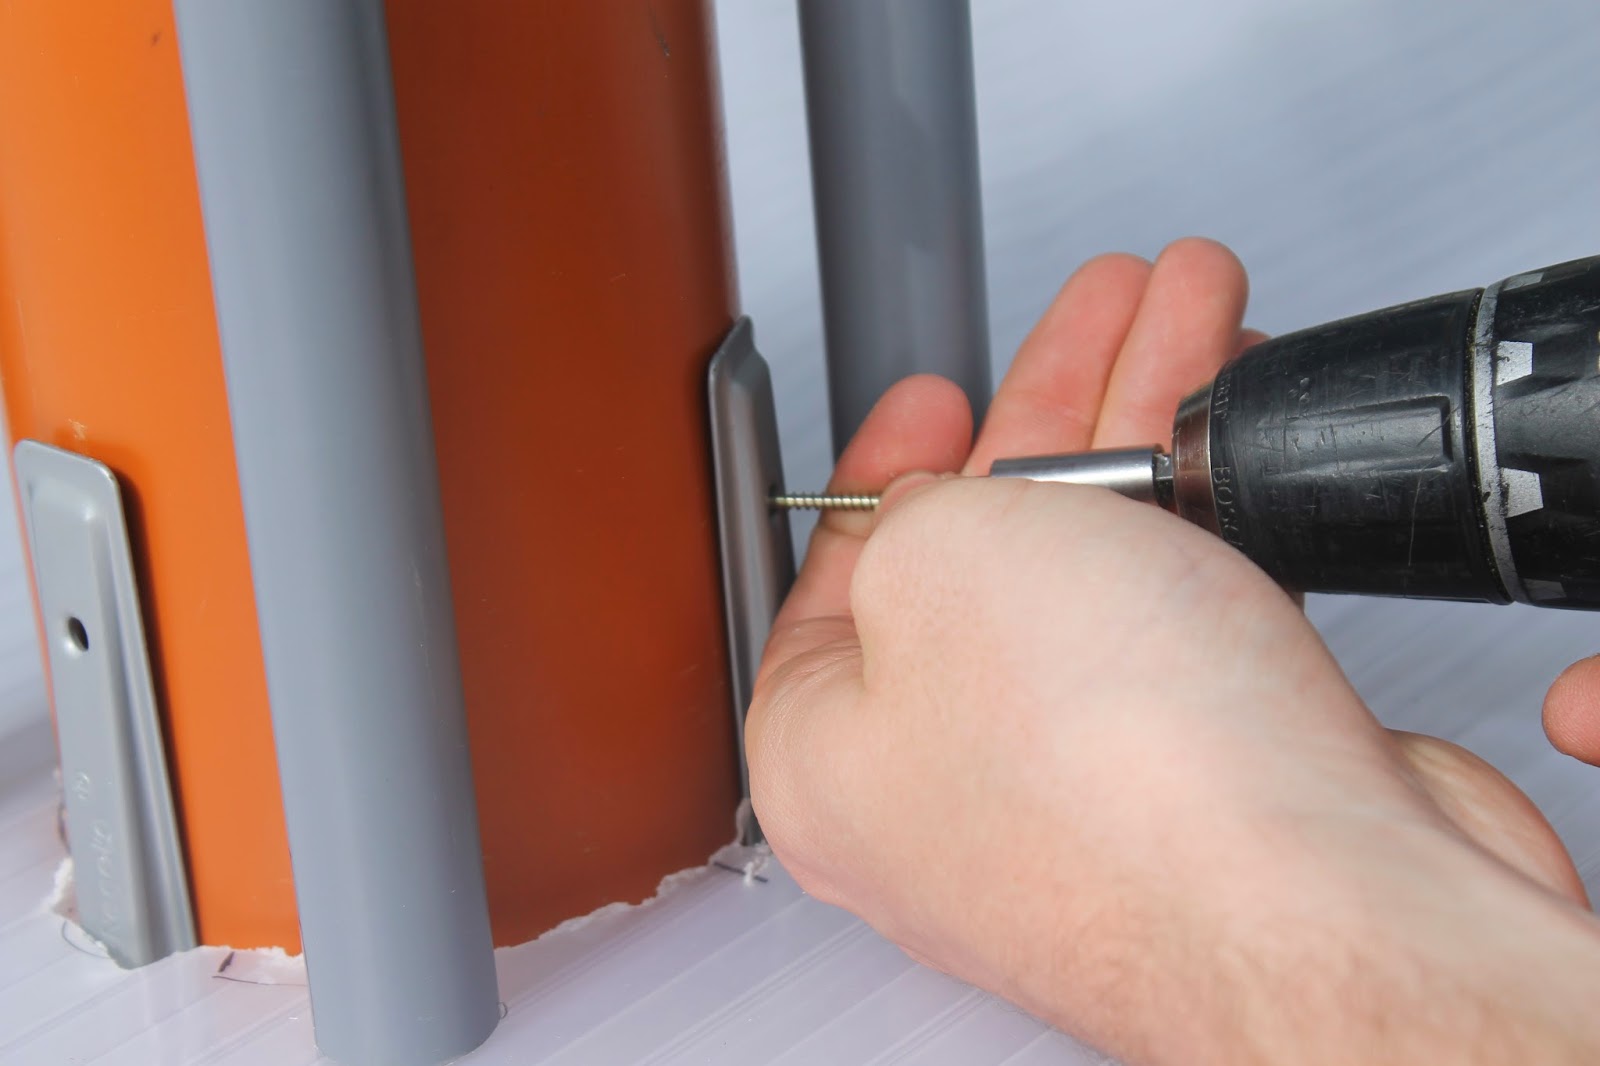
We made several holes in the base of the orange tube. We attached six shell supports to give extra stability. The last step was screwing the tube and the shell together for maximum stability
We connected our table top to the barrel structure with some tension straps.
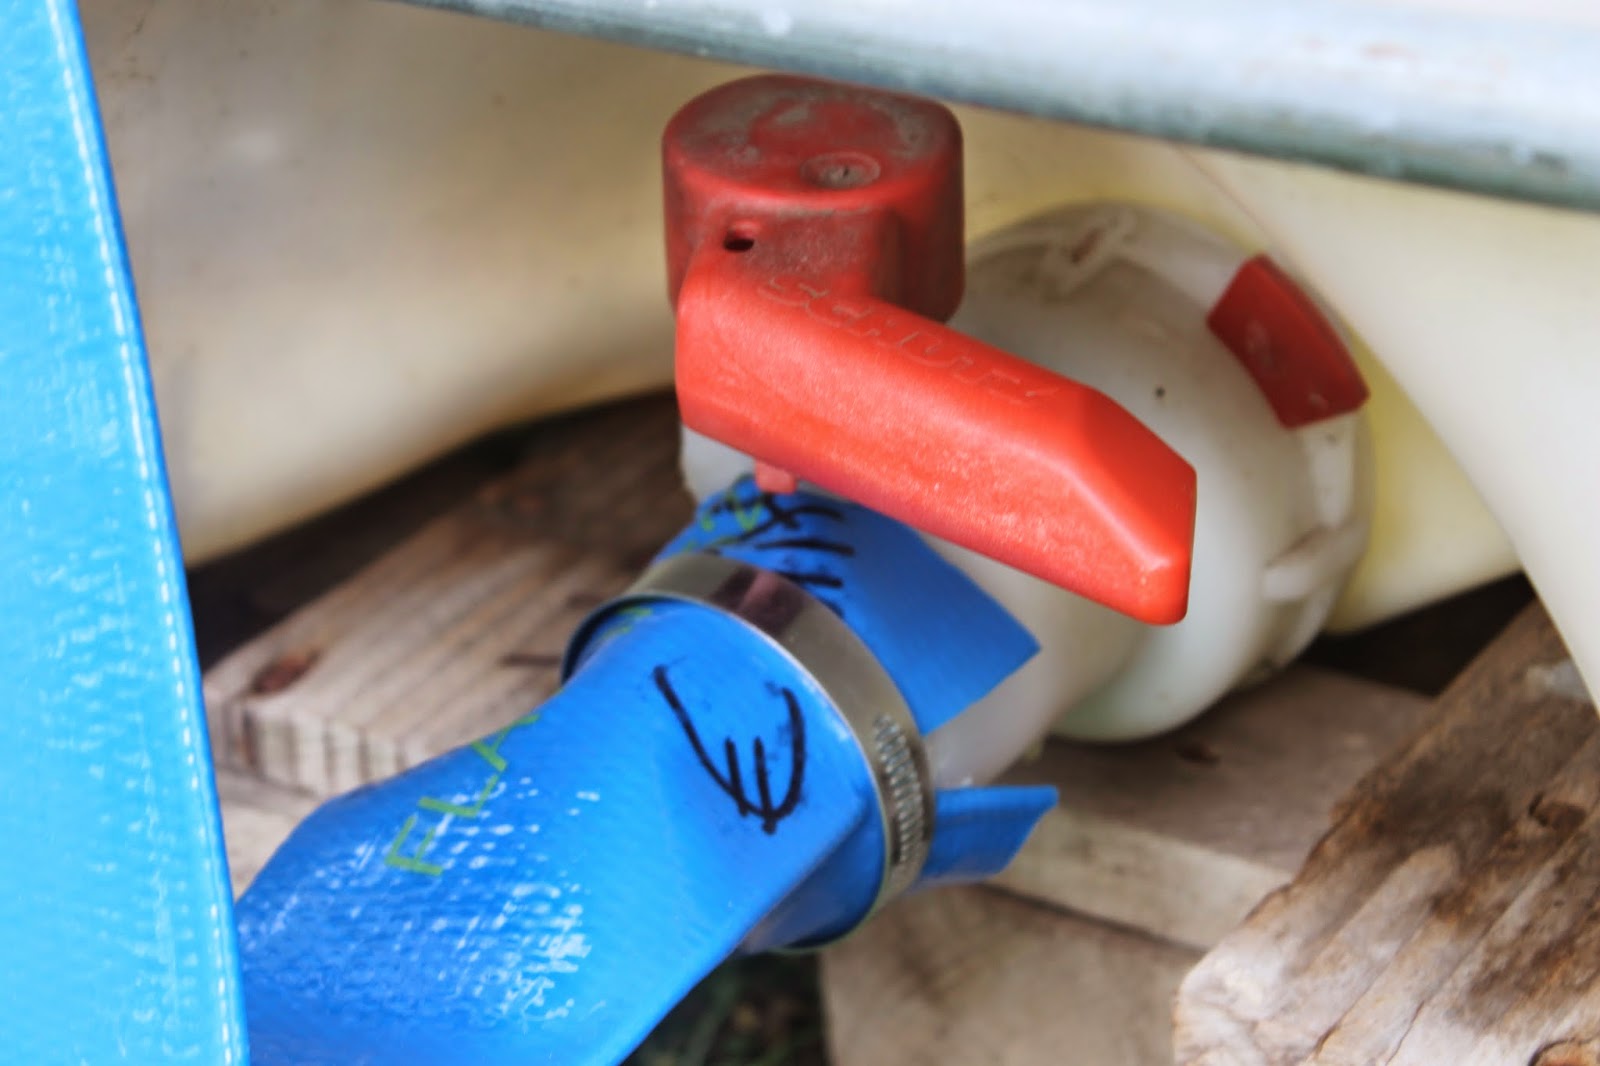
We connected a standard hose to the tap with a metal tension strap. People can now take water using the hose to fill their buckets.
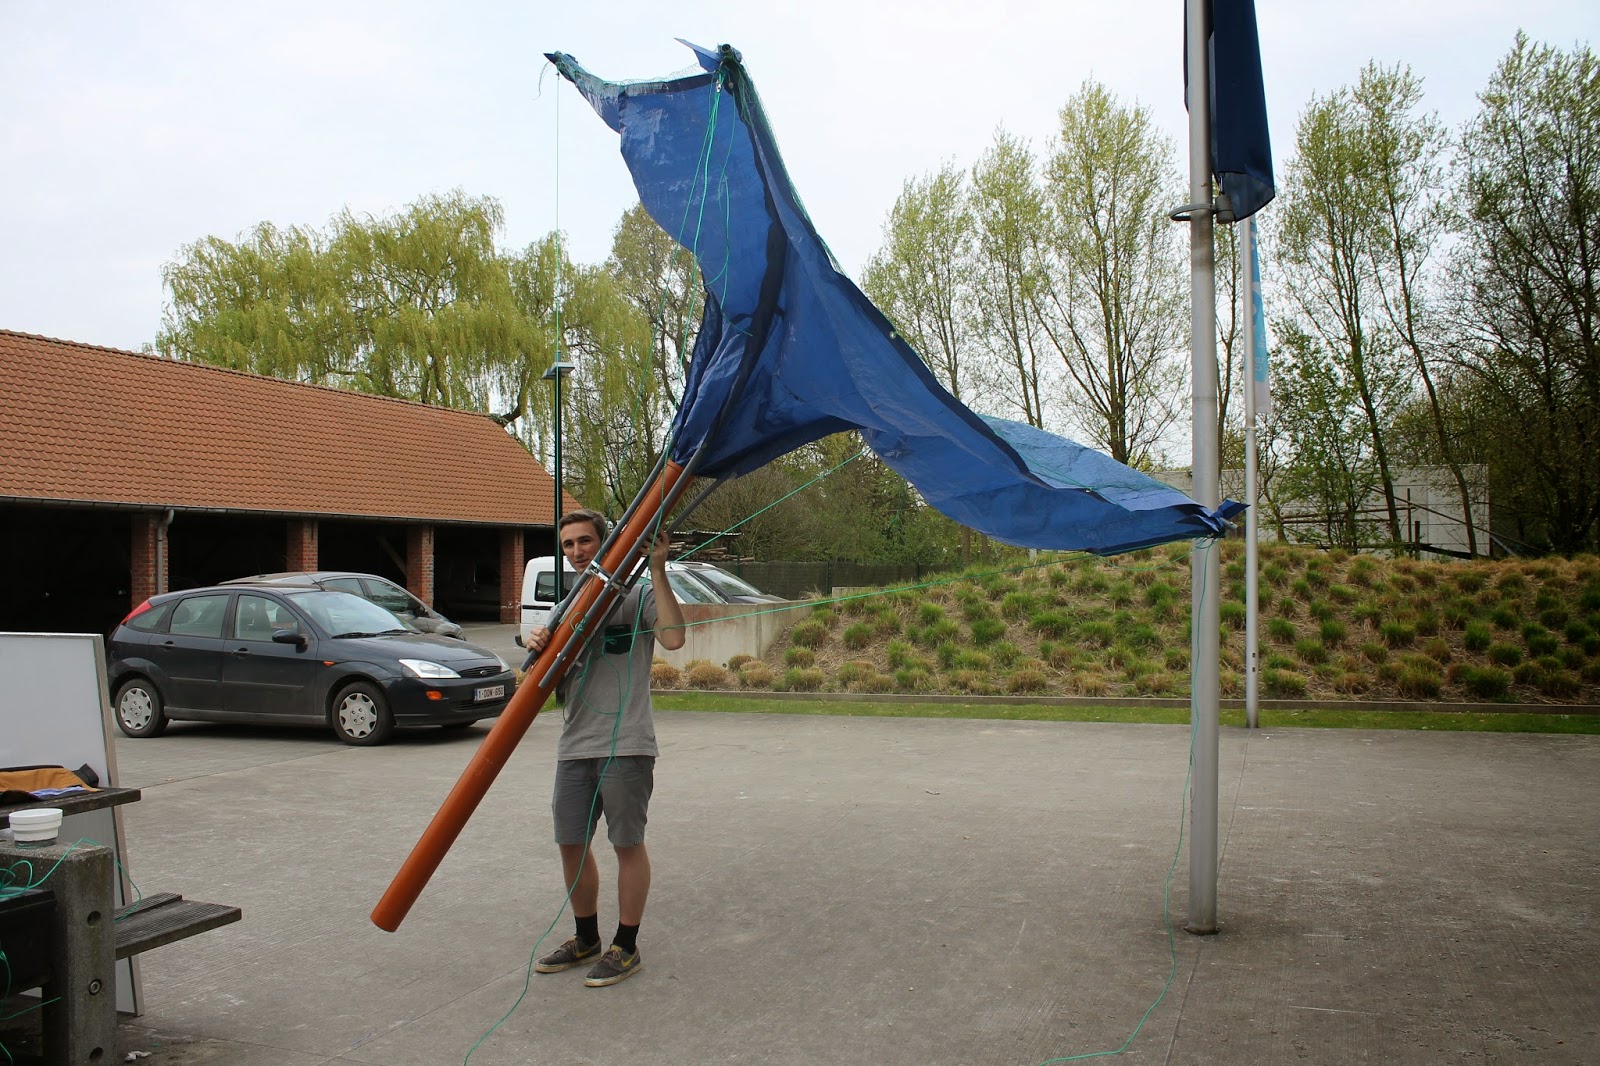
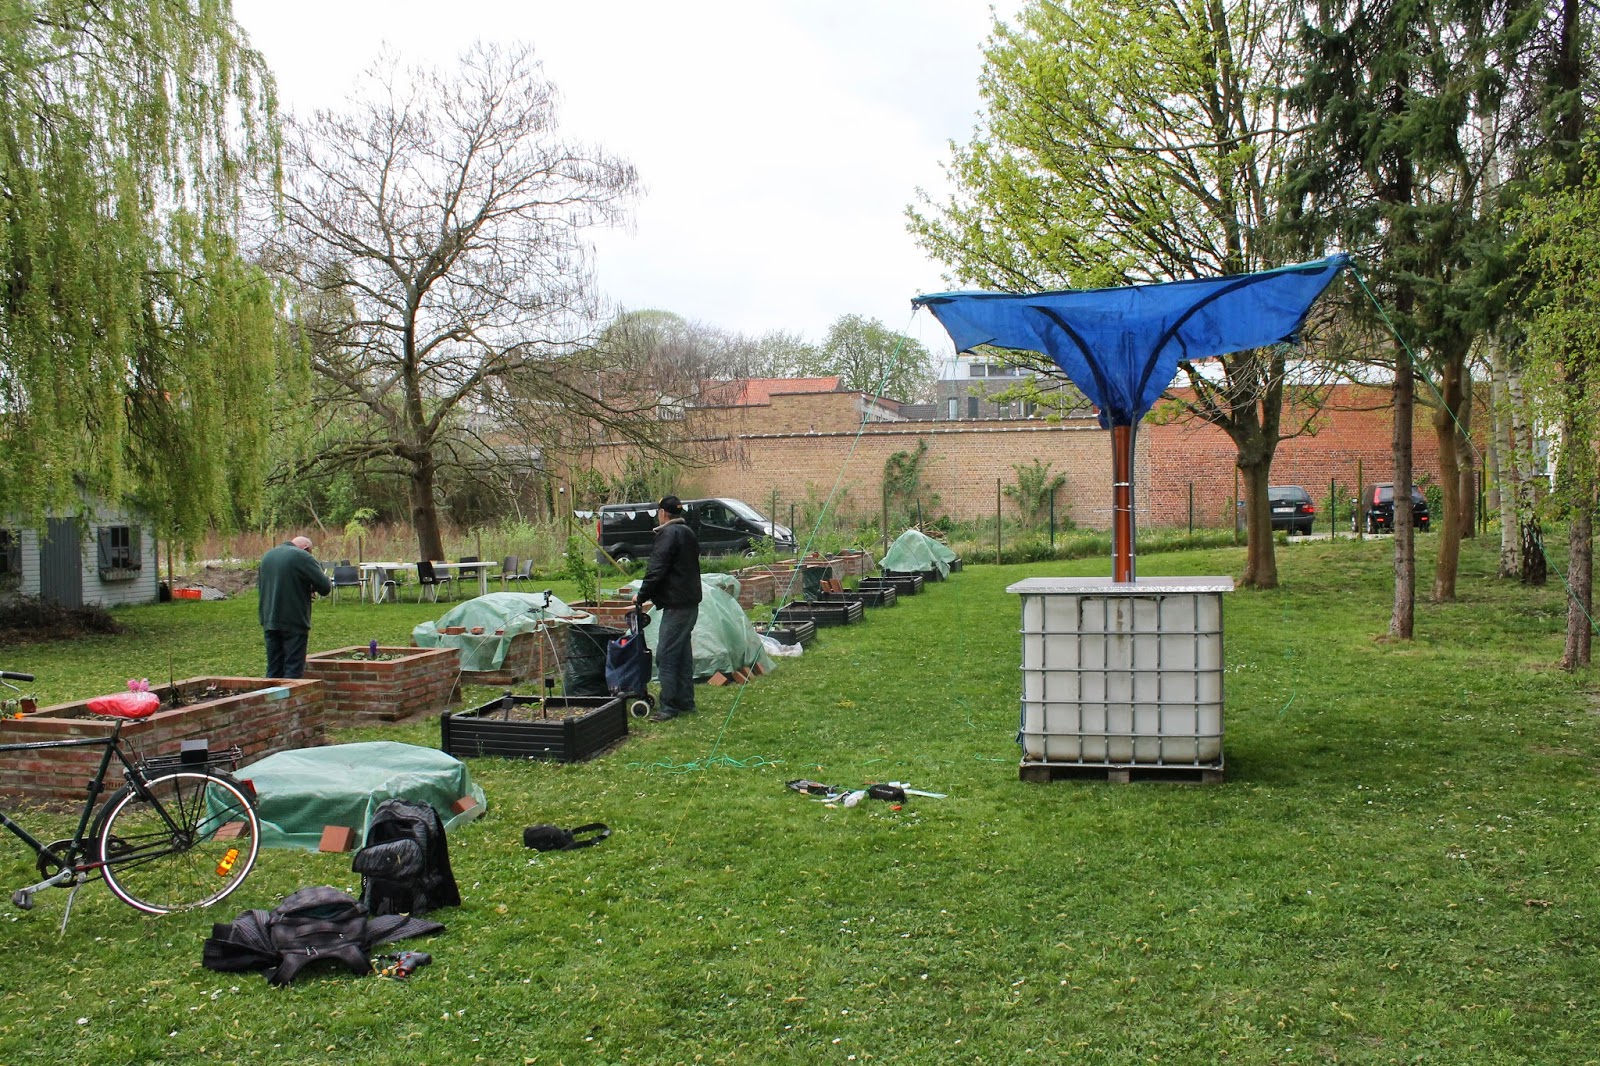
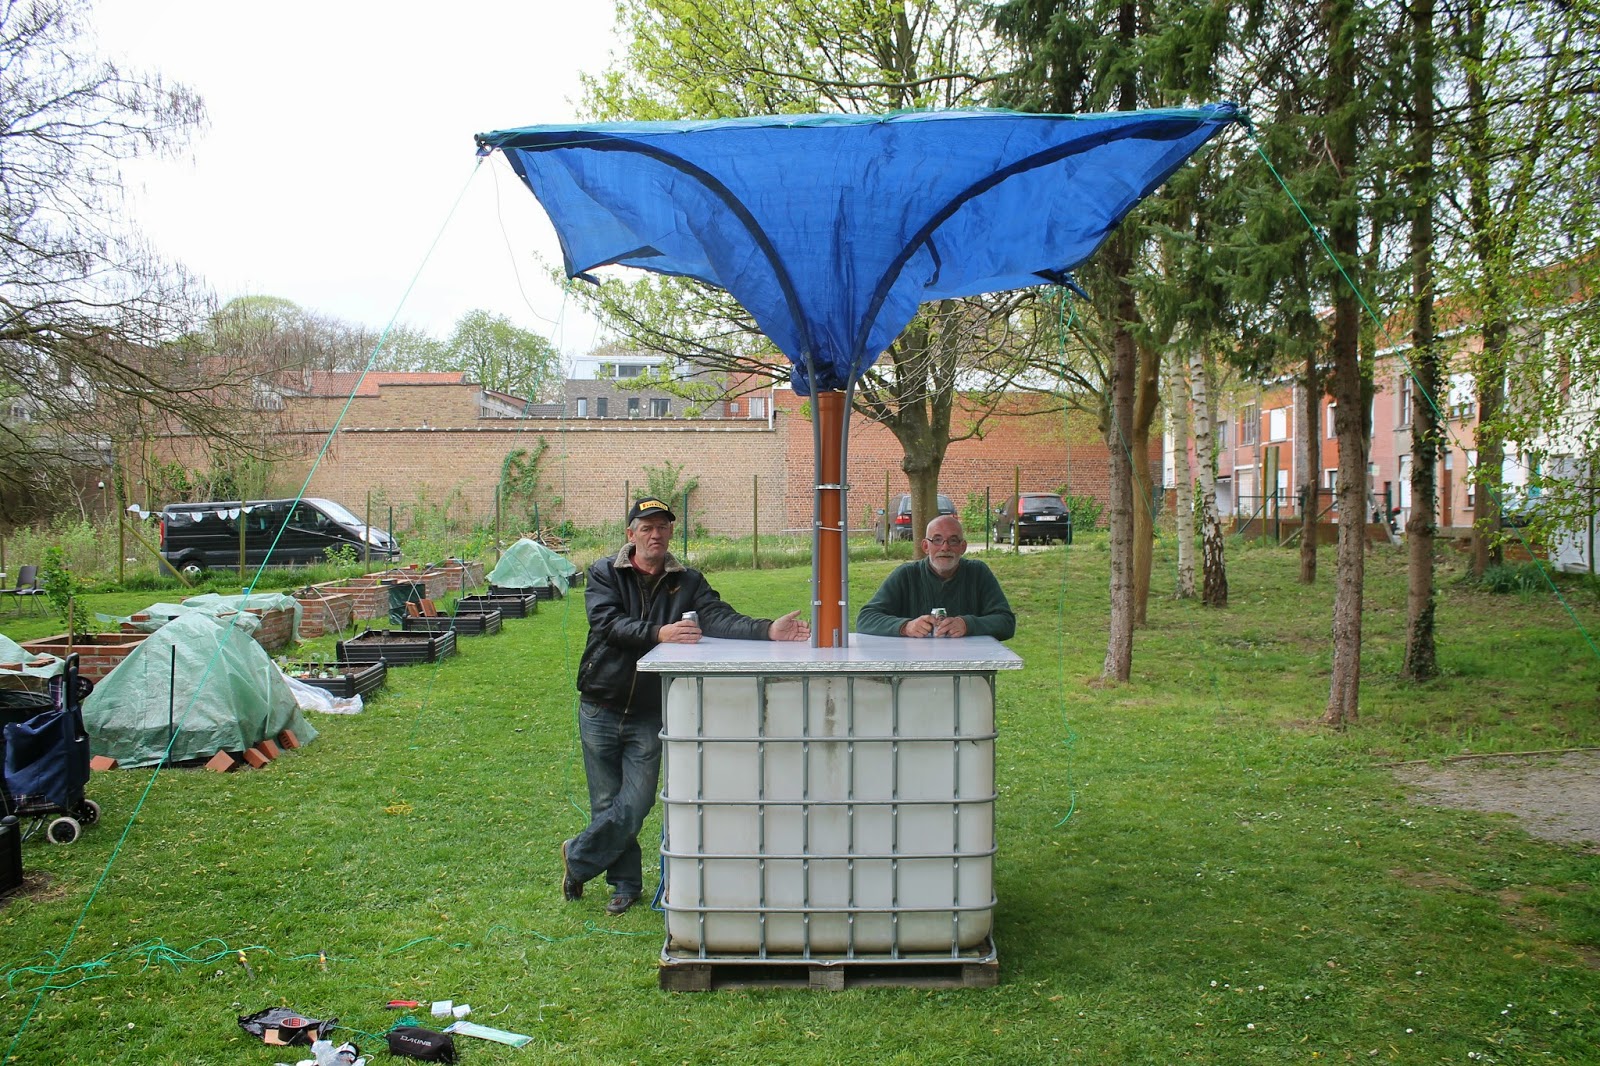
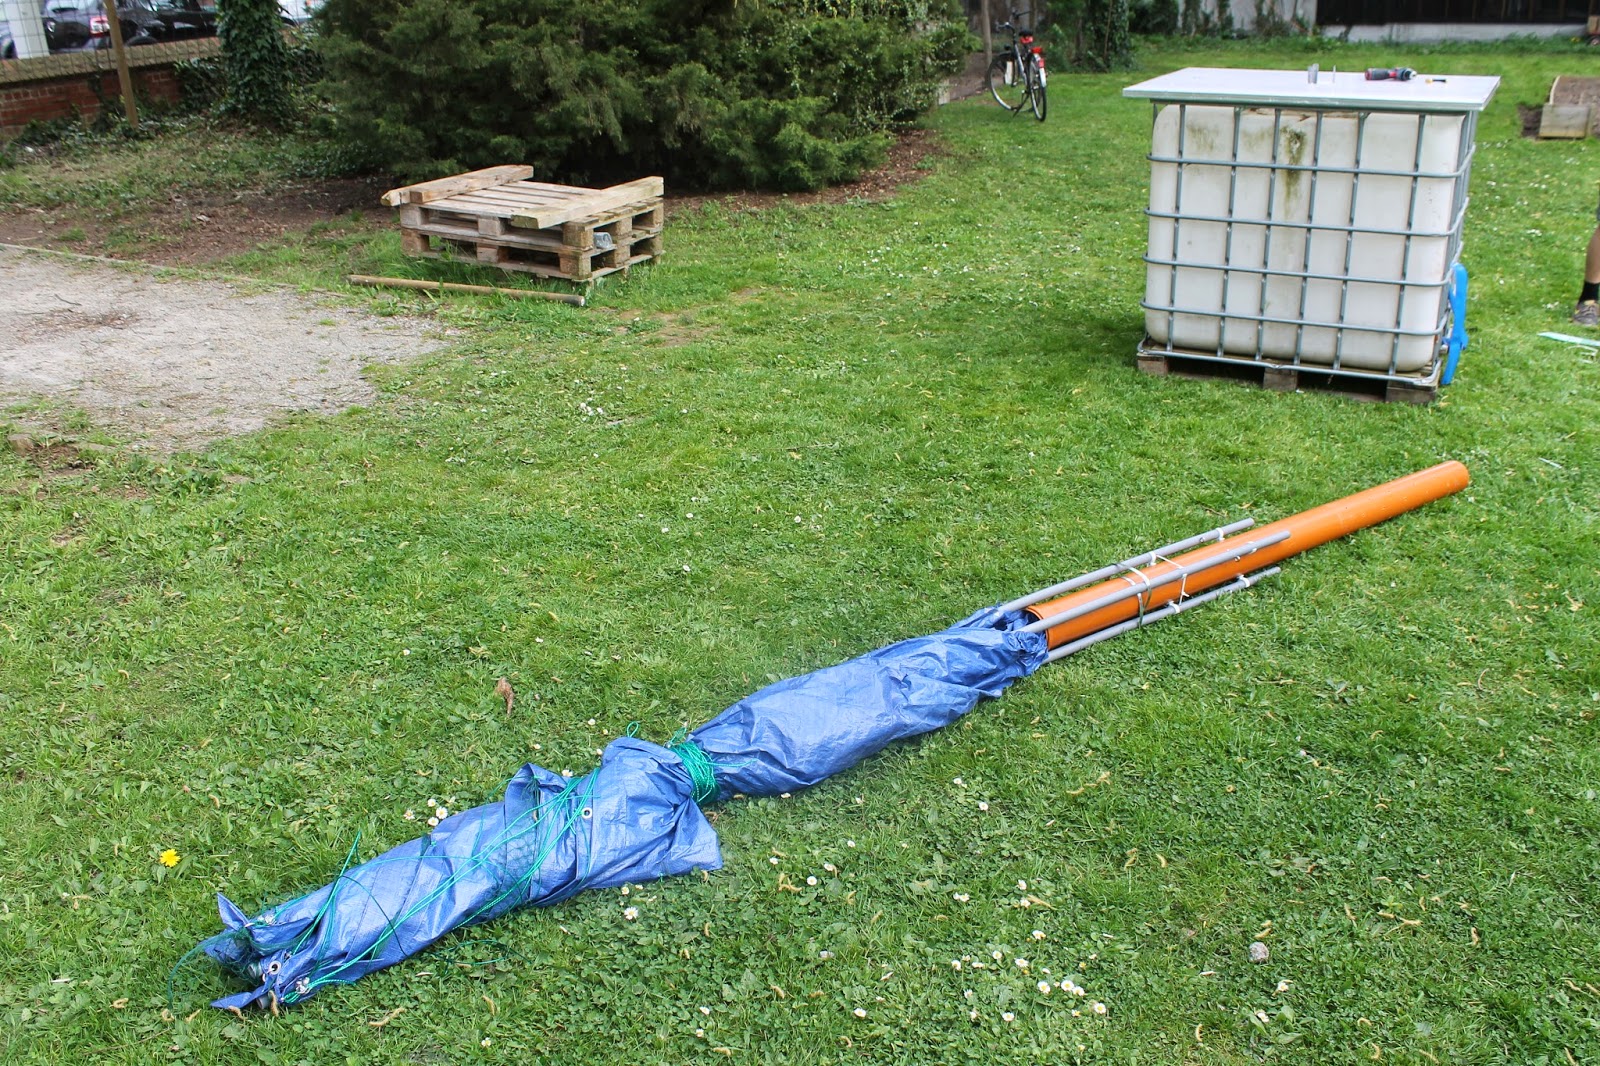
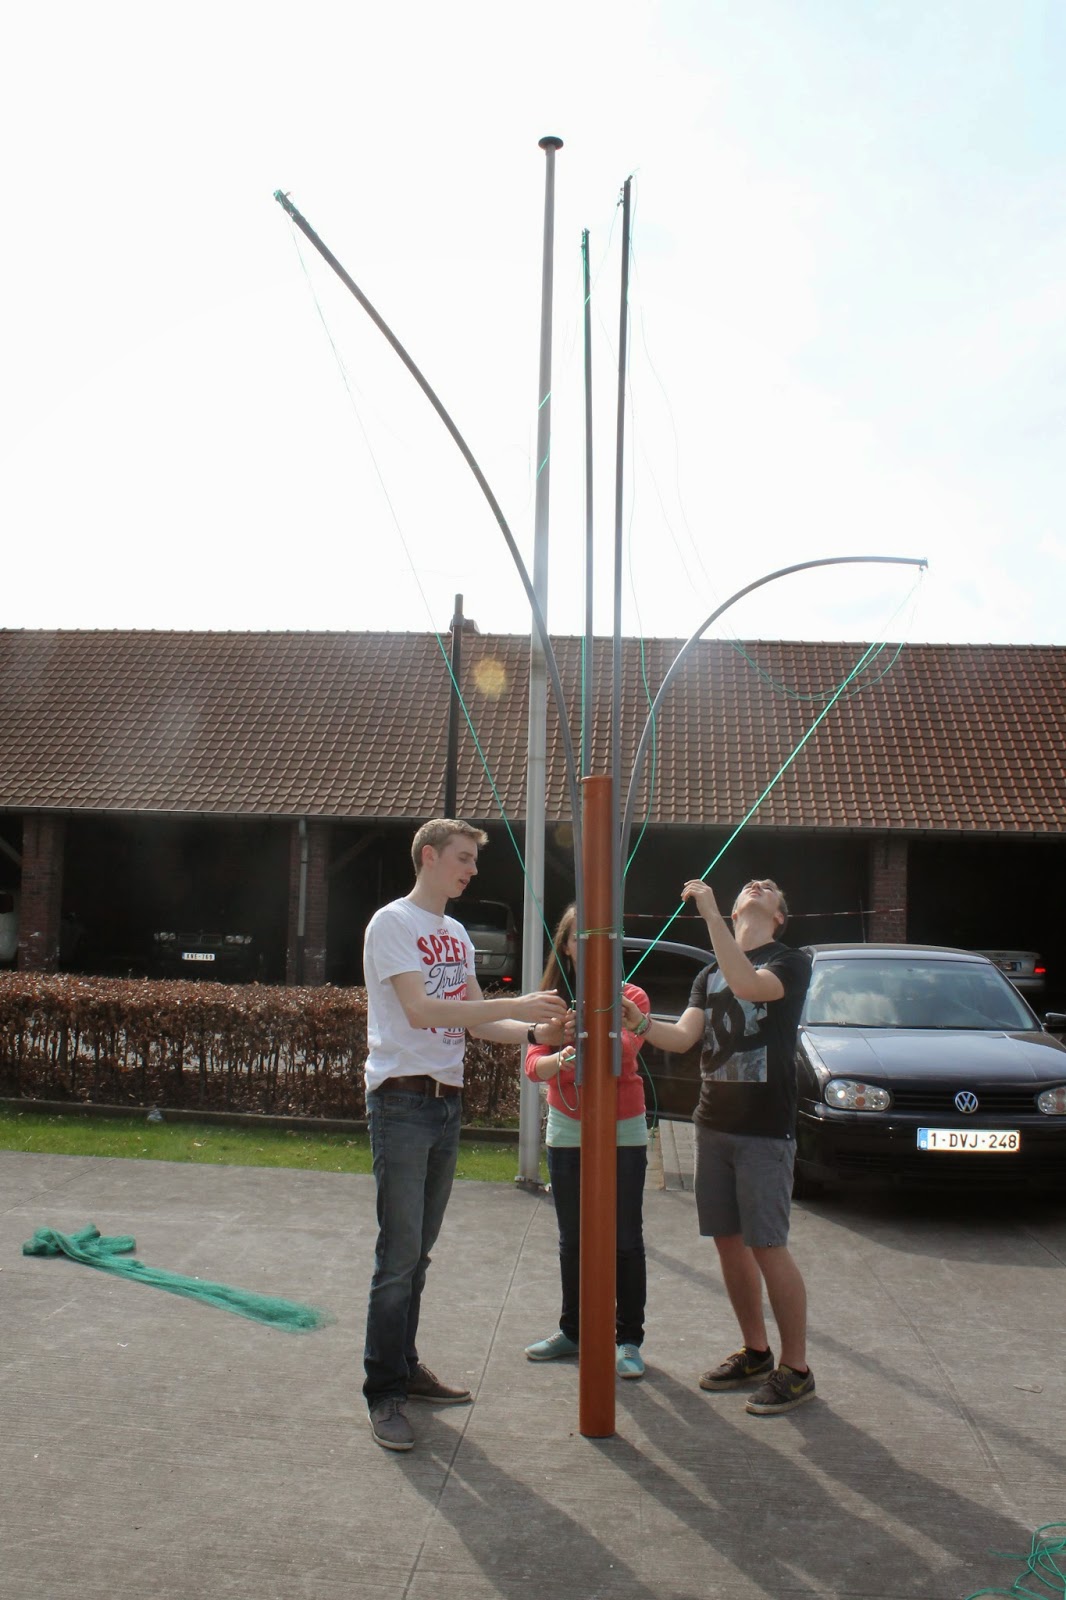
The last step was assembling. We inserted the orange pvc tube in the tank and opened the fabric using ropes. We put the ropes to the ground using a piquet.
And the final result:
And in the end the structure can be foldable very easy.
CONSTRUCTION DAY 2
cONSTRUCTION
Day 2:
Day 2:
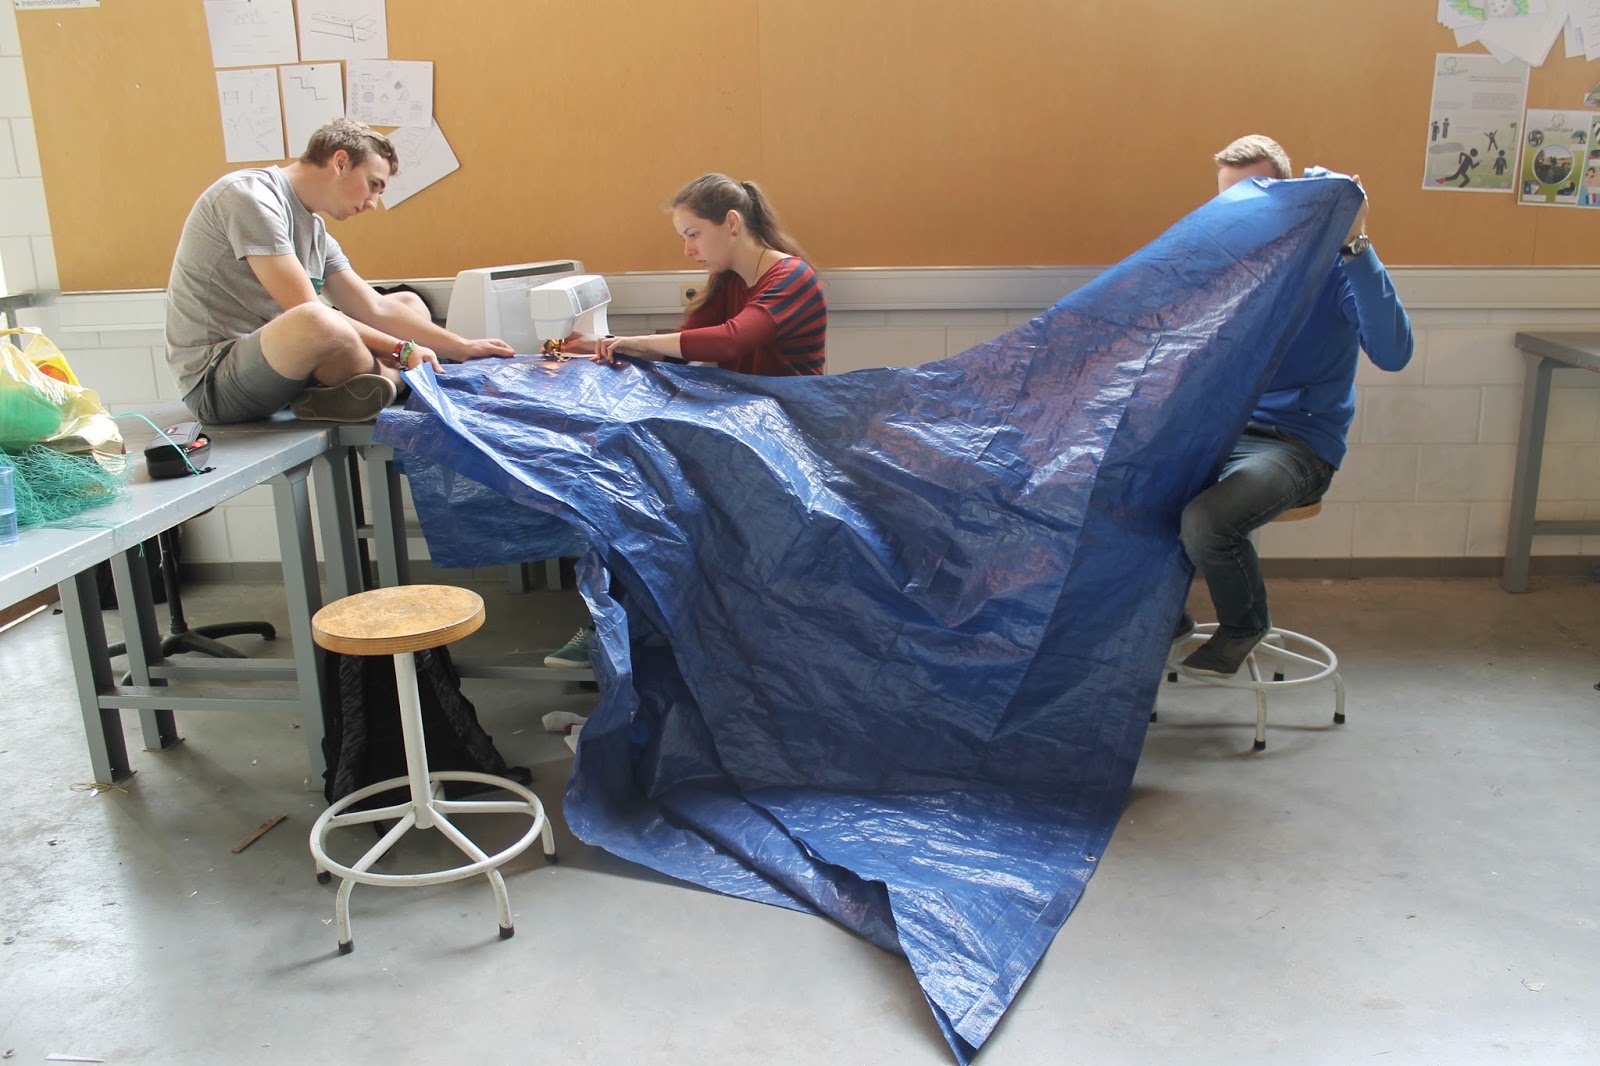
We began sewing the impermeable fabric.

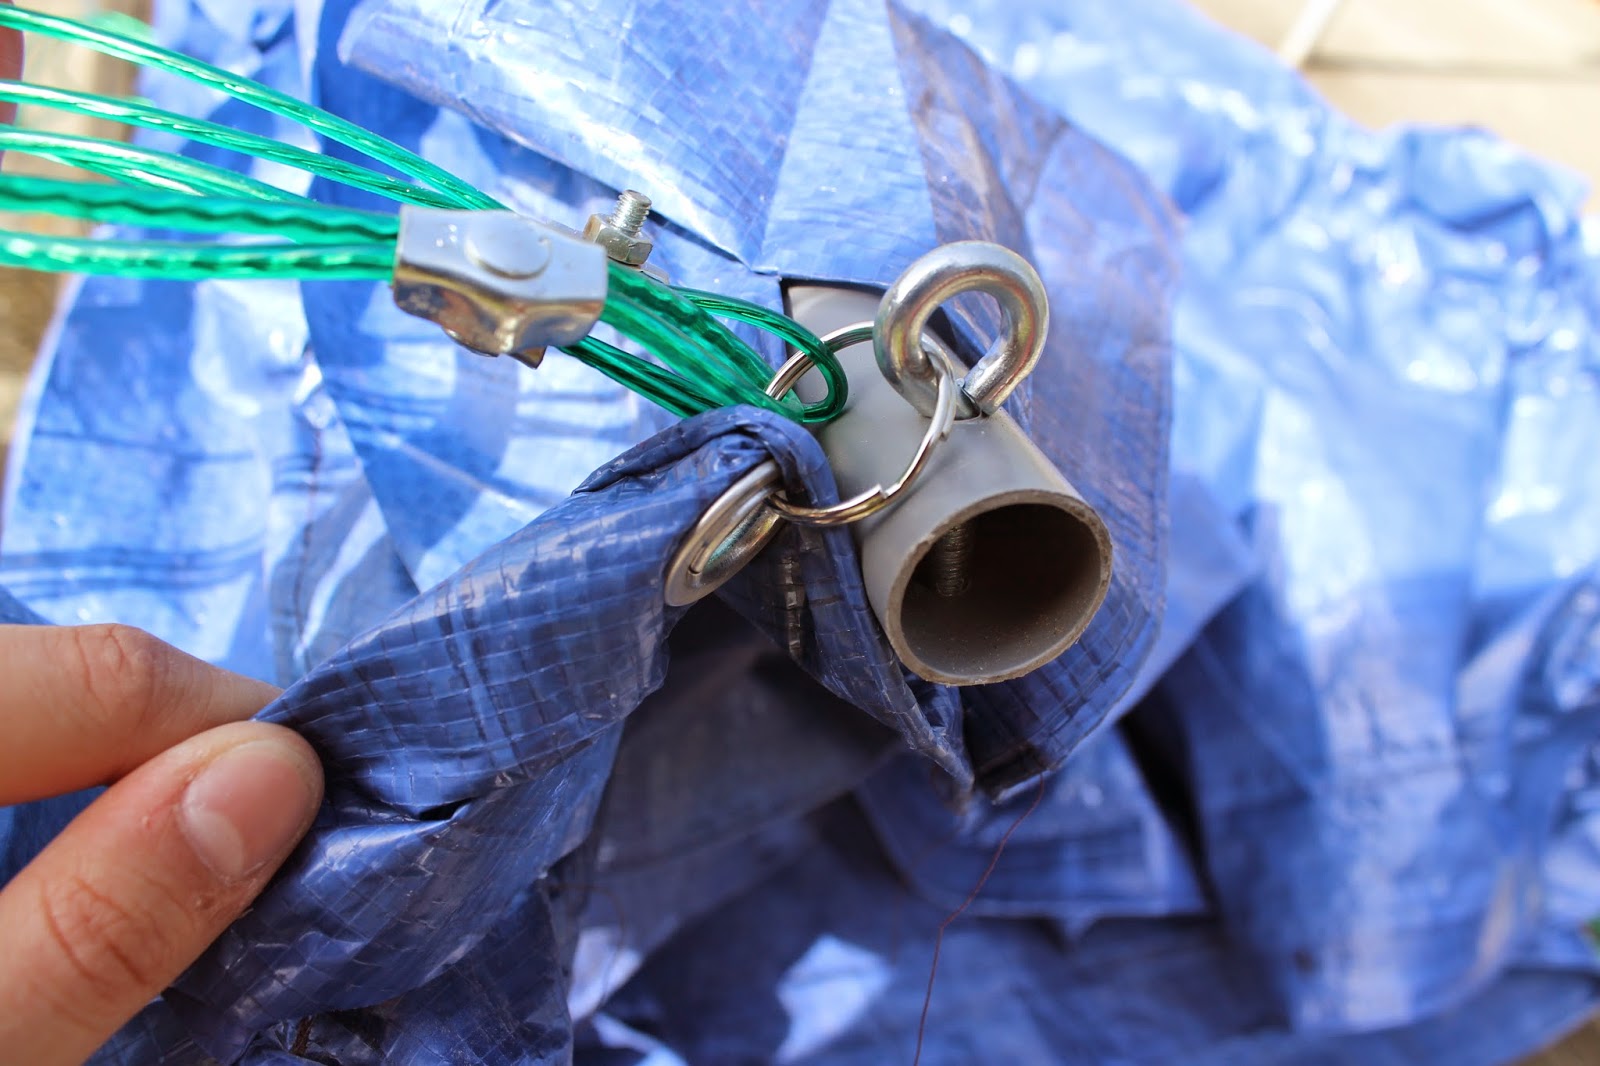
Then we inserted the tubes in the fabric and connected the fabric by the rings with the top of the tubes.
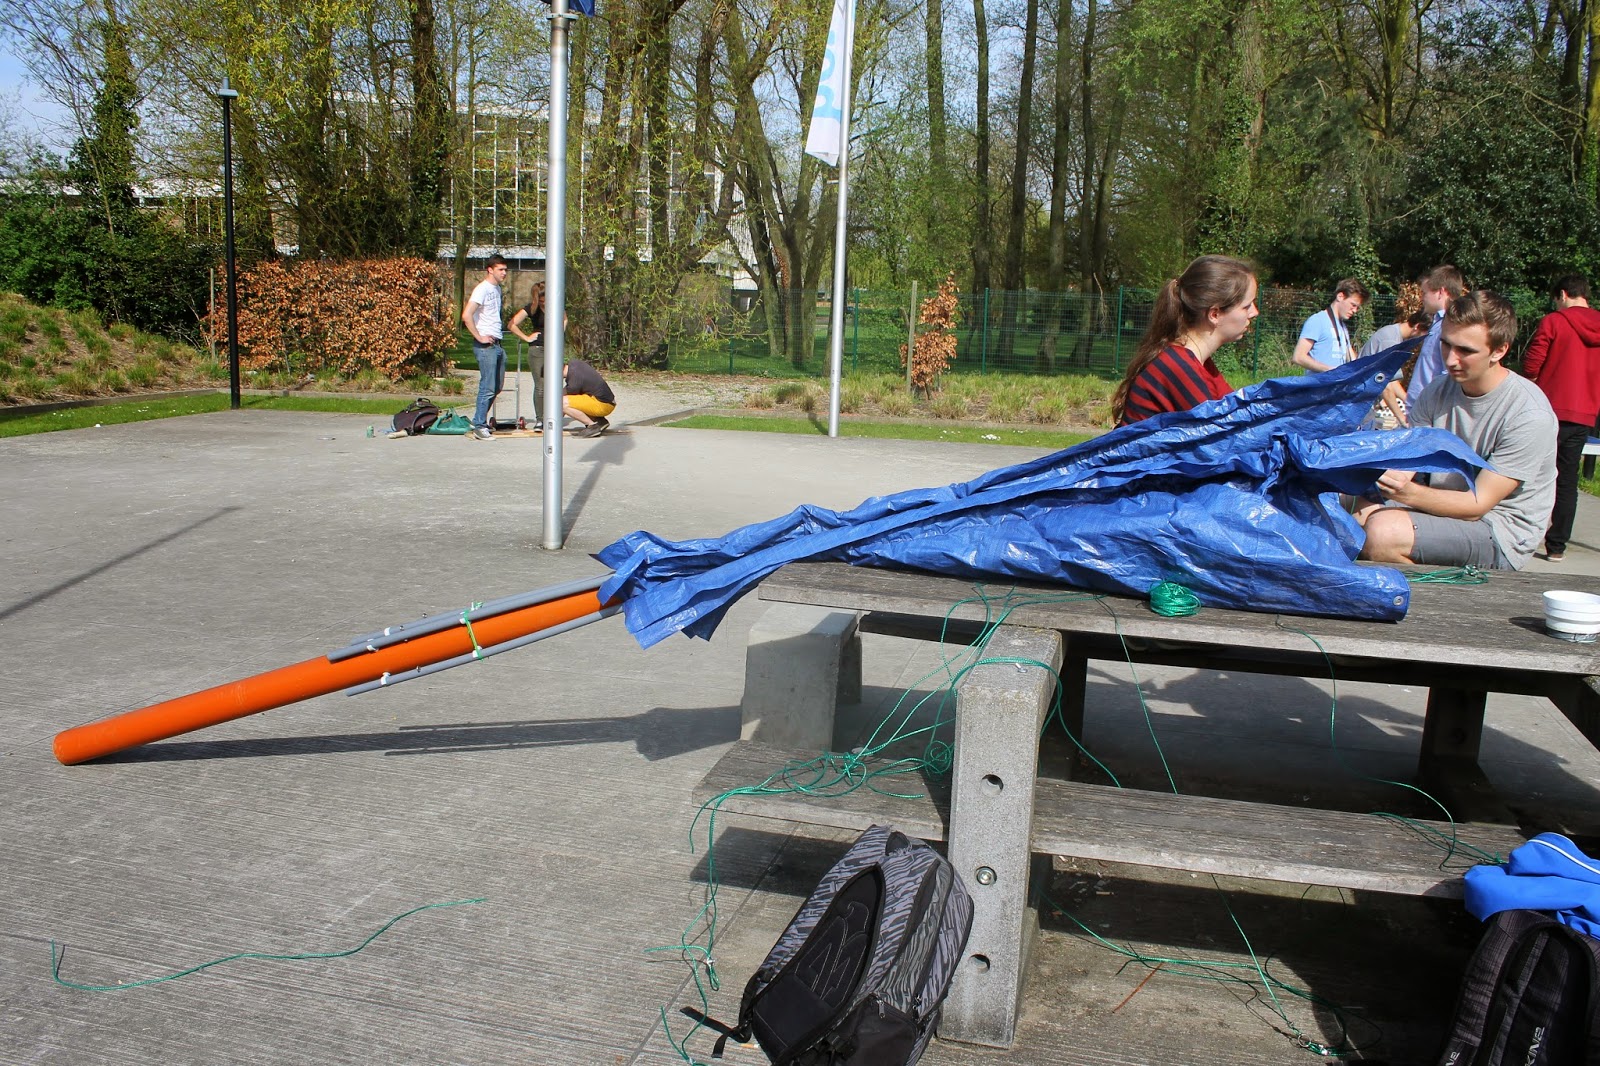
We made holes in the base of the fabric, and inserted the rope, which is attached to a stone with a net around it. And we inserted it into the orange tube. This is our counterweight to make sure the fabric stays in the tube.


Following, we attached the net with the corners of the top of the impermeable fabric to the rings and then we secured everything with some tension straps.


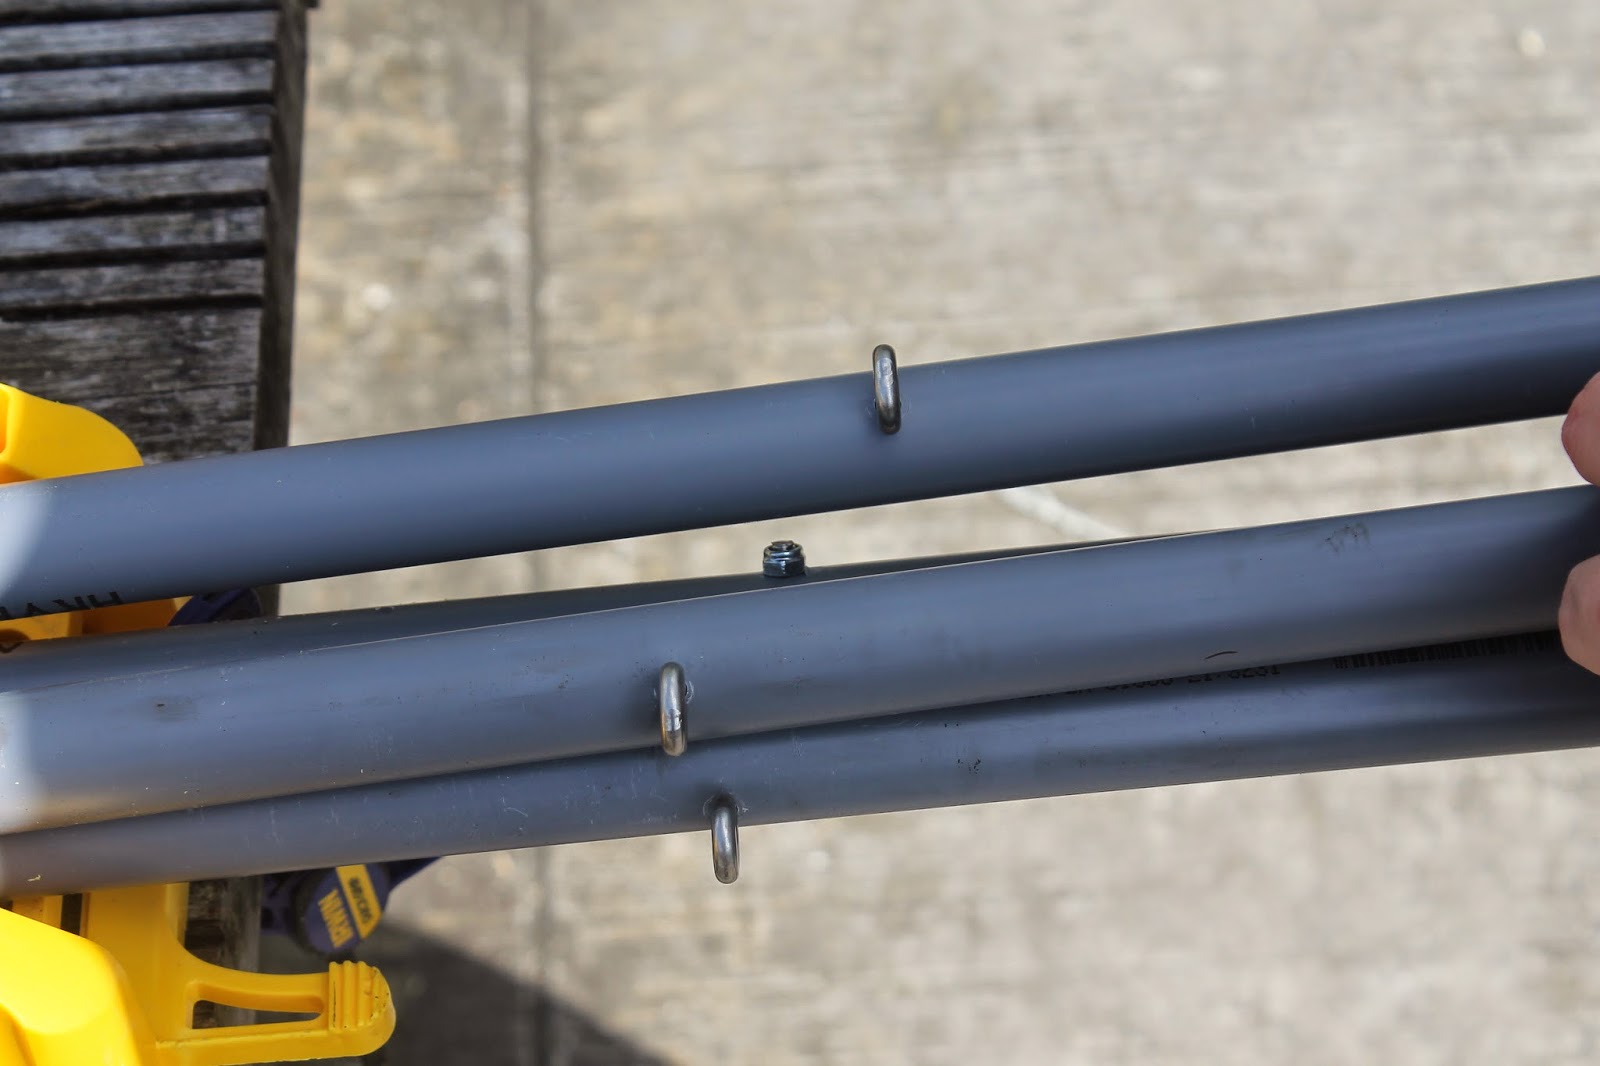
The last step this day was secure that all the tubes stay together using a a tension strap through the pipes and using 2 metal tension straps around the tubes.

donderdag 3 april 2014
CONSTRUCTION DAY 1
CONSTRUCTION
Day 1:
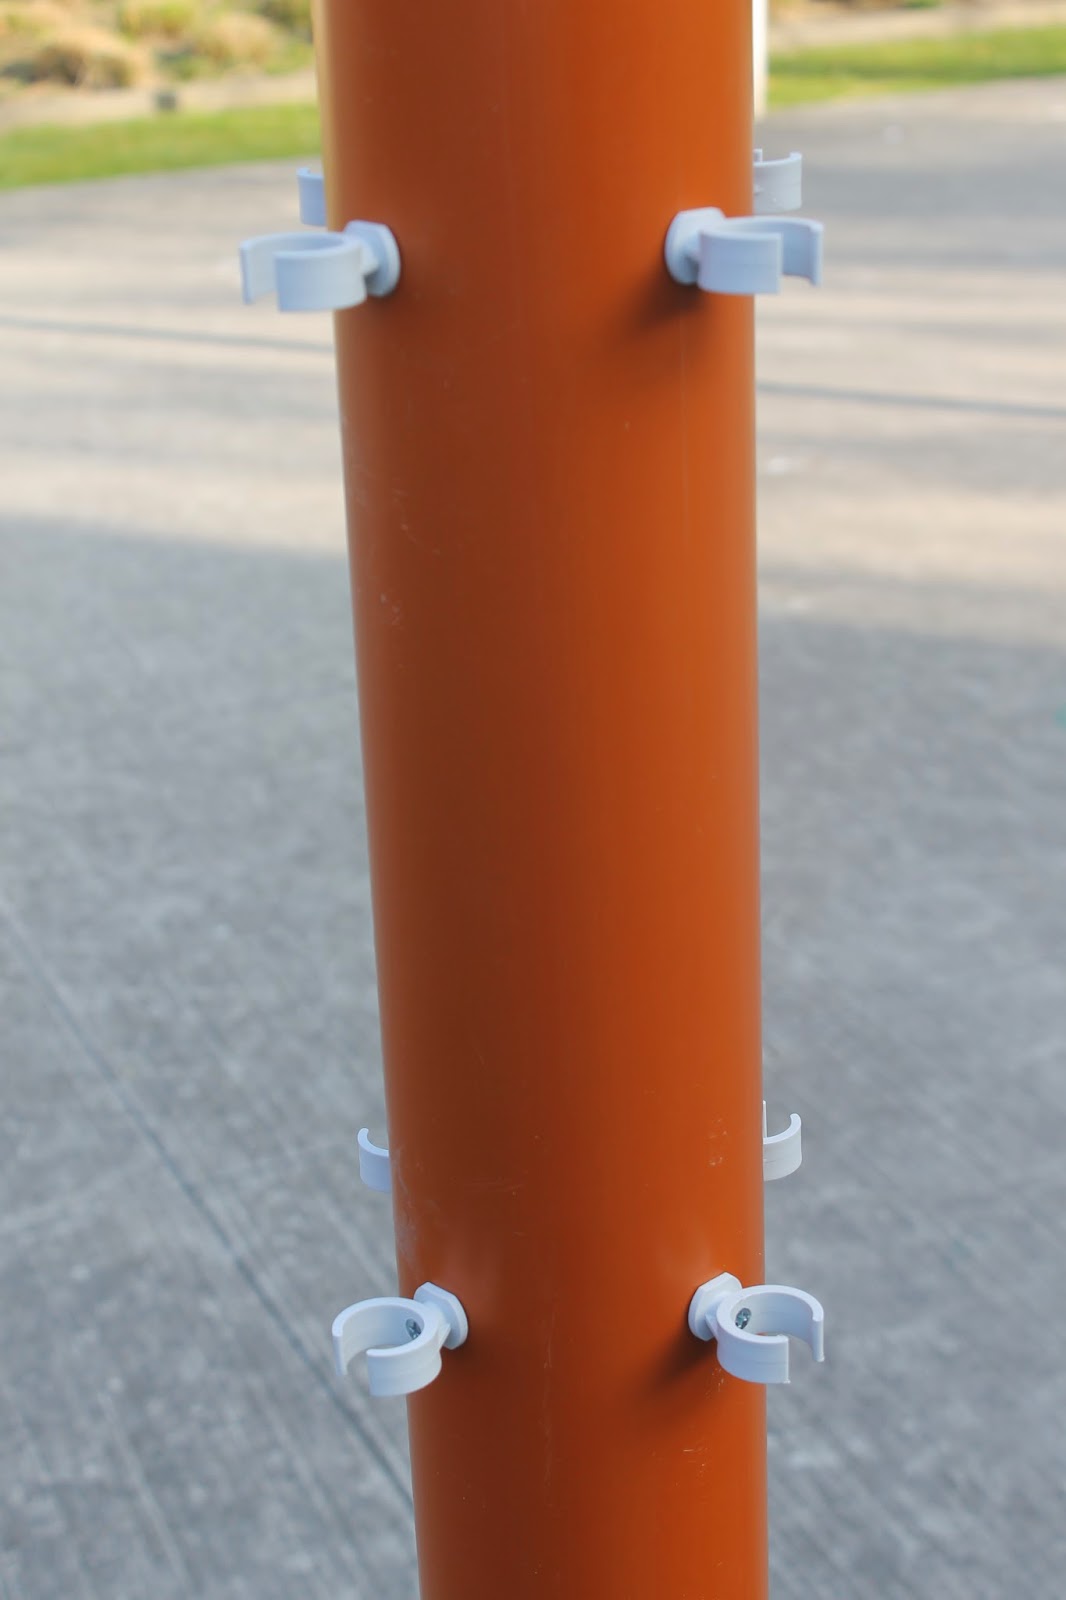
We started making the
central structure; we made eight holes and put the snaps in for the gray pvc tubes.


Secondly, we drew the triangles in the right size and then cut the fabric following the
shape.

Later we made the connection of the ropes with the grey tubes.


maandag 31 maart 2014
FEEDBACK AFTER CONCEPT PRESENTATION
Mondaymorning 31/03 we presentated our concept to the jury, this is the most important feedback we got:
- Use a barrel! by connecting the rain catcher to a barrel it's more stable and you don't have to put something in the ground
- Make sure it's an strong fabric
- Vandalism proof ?
- strong enough?
- Use a barrel! by connecting the rain catcher to a barrel it's more stable and you don't have to put something in the ground
- Make sure it's an strong fabric
- Vandalism proof ?
- strong enough?
Abonneren op:
Posts (Atom)